


I've been meaning to put this on here for a while, as a follow up to the accordion hearts Friendzy Friday I did for Two Scrapbook Friends a while ago. I figured out a couple of templates to create accordion stars which you may find useful.
Apologies if some of the photo's are a little shadowy (it was late!) but here goes:
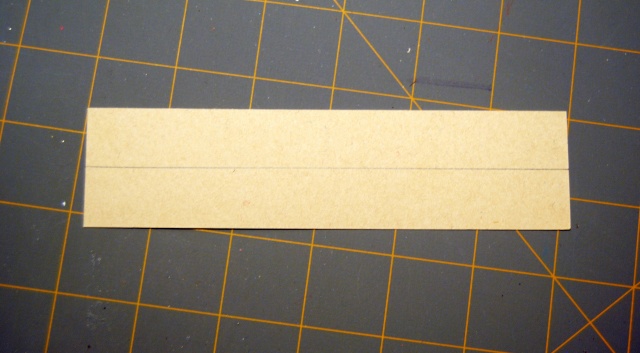
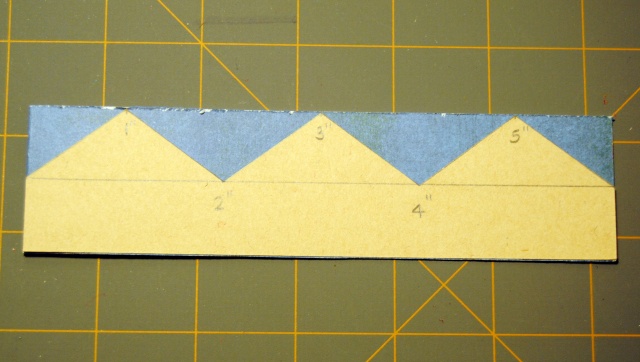
1. To create your template for a 6 point star, start with a piece of cardstock 6" long by whatever width you'd prefer. Mine is 1 3/4" wide which seems to be a good size to use as an embellishment for a scrapbook page, but you can increase/decrease however much you'd like. Mark the center line through your card (in this case 3/4")
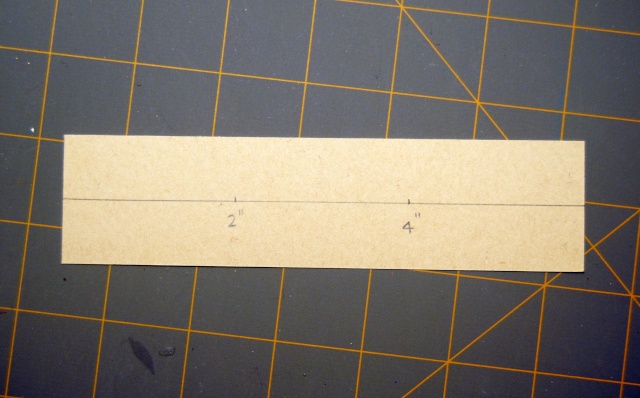
2. Make a mark at 2" and 4" along this center line.
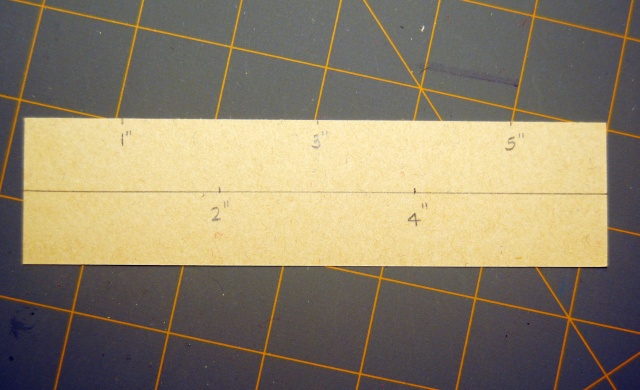
3. Along the top edge of the template, make marks at 1", 3" and 5".
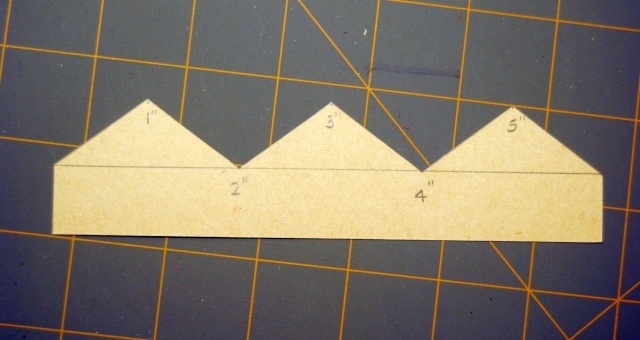
4. Join these points starting at the center line on the very edge of the card, all the way through to the far edge, to create triangular points, and carefully cut around.
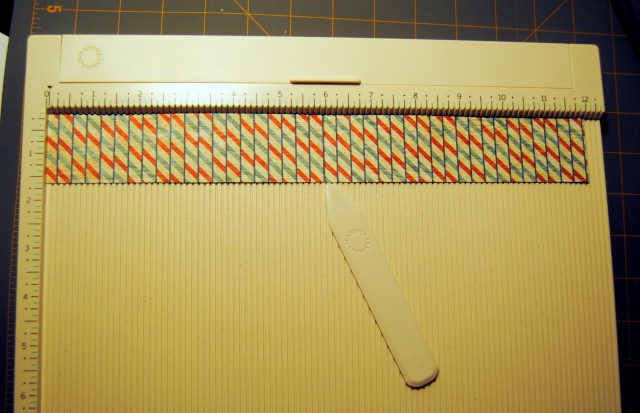
5. Cut a strip of your chosen patterned paper 12" by 1 3/4" and score at the center point (6").
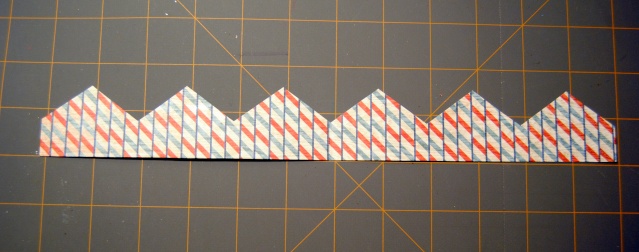
6. Fold at this point (with the chosen pattern inwards) and place your template on top.
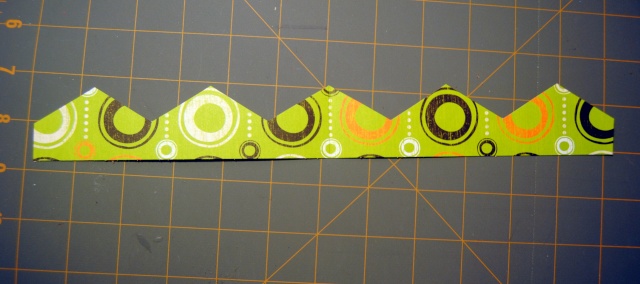
7. Draw around and cut out. Once opened, you should have a symmetrical pattern like this.
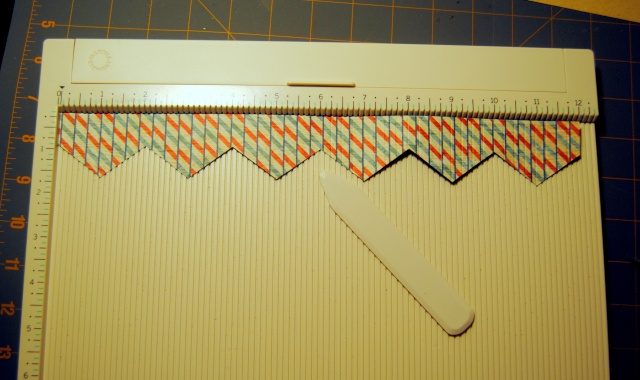
8. The rest of the process is exactly the same as for the accordion hearts, so go ahead and score along the whole length at 1/4" increments.
9. Accordion fold along the scored lines and join the two ends with a strong glue. I also cut a small circle from scrap card to use as a base for the star.

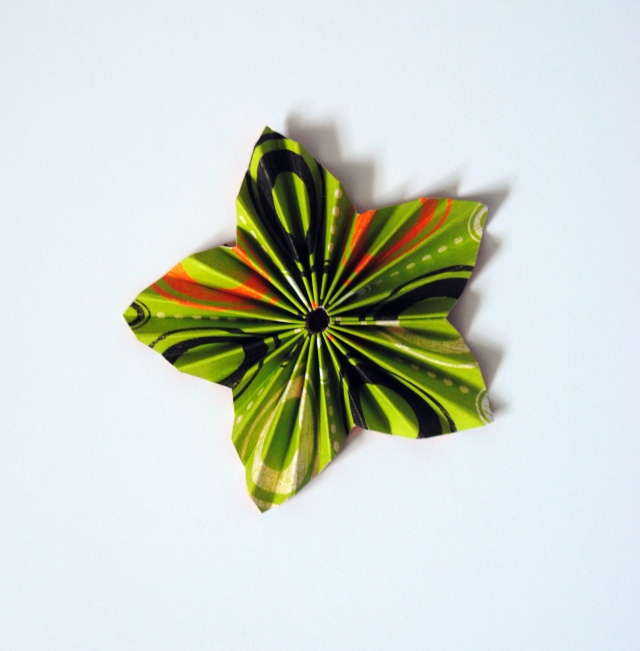
10. Press out the star (straight edges in the center obviously) and glue down onto the card circle.
Ta daaaaaa!
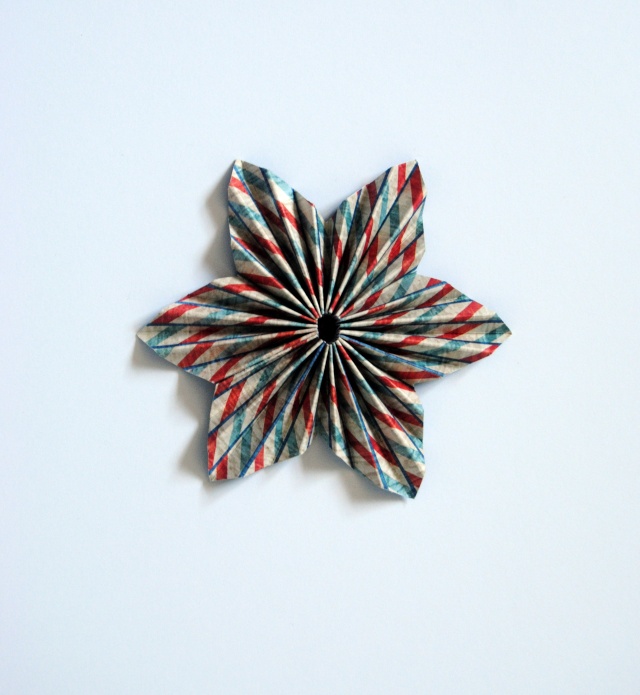
Not bad....it does tend toward a flower shape so I did try to make the points a little sharper, by instead of marking a center line through your template (3/4"), draw it lower at 1" so that the triangular points will be longer and thinner.
If you'd prefer a 5 point star, the process is the same but your template would be as follows:
1. Using the same size of cardstock (6" by 1 3/4") mark the center line (3/4"). Along this line, mark at 2 3/8" then a further 2 3/8" (this would be the 4 3/4" point).
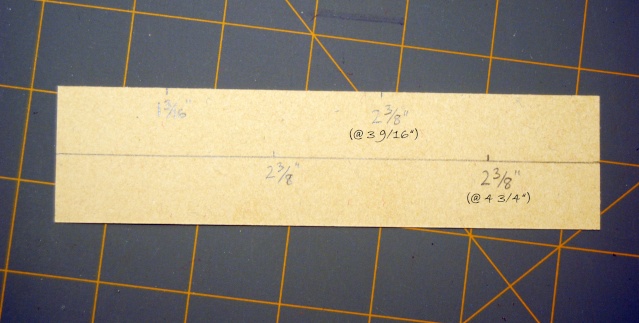
2. Along the top edge, mark at 1 3/16" then a further 2 3/8" along at the 3 9/16" point.....yes the measurements get a little fiddly but once you've created your template, it's for keeps! Join the points to form triangular shapes.
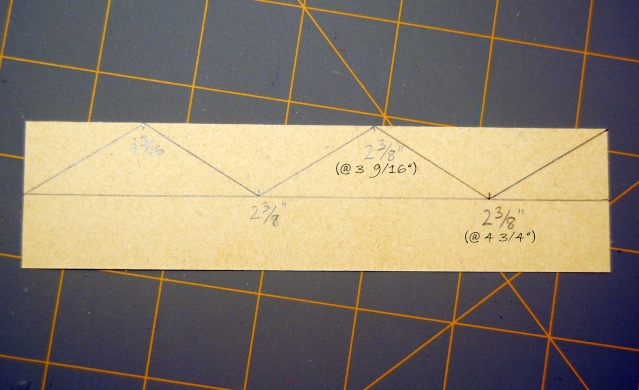
3. Cut around the triangular shapes. The rest of the process is the same as for the 6 point star except for one step. You do have to remember to place the far edge of your template along the Fold of your chosen patterned paper in order to create the correct shape.
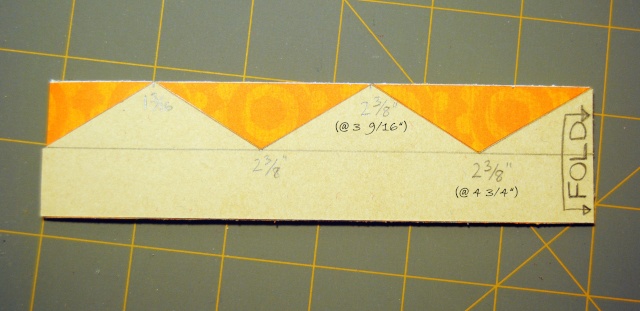
4.If you've placed and cut correctly, your paper should end up looking something like this........
5. Continue to make the star as in the instructions above.
Again, if you'd prefer thinner sharper points on your star, lower the center line on your template to 1" and continue from there.
Congrats if you stuck with me till the end! I hope you can make some use out of this.......I think they may make an appearance on some of my Christmas pages!
Have fun everyone,
Jayne.x.

8 comments:
Fantastic!! Thanks for sharing Jayne.
xx
Beautiful!!!!! I for sure will try this challenge!
Great tutorial Jayne!
Another great tutorial, Jayne! I must try this one!
Great tutorial Jayne. Awesome you took the time to figure this one out. Congrats!
Trying, trying.... won't give up. I am holding posting one of the challenges at 2SF because I want to put one of these stars up on the page!!!!
Fab tutorial Jayne. Love how you figured this one out!
Love that you worked out how to change up the shape of the accordian flower (medallion) again, Jayne!
Brilliant idea and a fantastic tutorial!
Post a Comment