Tuesday, May 22, 2012

Flowers.....the rolled variety!

Hello again!

Call me eager, jumping on here two days in a row, but I have two reasons for this:

#1.......the current challenge of 'May Flowers' over on Saturated Canary ends tomorrow, and as I quite often miss the deadline, I thought I'd make an effort and get this one in there!

#2........the ultra cool new magazine "Designed To Colour" which I found a few weeks ago, is now running a monthly challenge too, this month being 'rolled flowers'.

So this sweet little card happens to be the perfect candidate for both challenges!

For this card, I also went back to my roots and dug out the Prisma Pencils......oh how I've missed them!  It wasn't until I started colouring that I remembered how gorgeous they are to colour with...........be prepared for a little run on the old pencils!

So here's today's card, showcasing a few of my favourite things.......a cute Saturated Canary digi, Kraft cardstock, flowers and of course pencils!


Have I ever mentioned how much I hate making rolled flowers?

Love the look of them, and I don't mind working with fabric, but for some reason paper will not co-operate with my process 99% of the time!  Anyhow, after making six of them for this card, they finally started behaving themselves.

Colouring, as mentioned a few times already, is with Prisma Pencils blended with mineral spirits, and the image is framed with a little distress ink/blending tool combo.


Papers are from one of my favourite older MME 6"x6" pads from the 'Lost & Found Two - Blush' collection.  Rolled flowers are created using a couple of different sized Dienamic dies, some canvas and a little of the patterned paper.
The sentiment is made by feeding some Kraft Core cardstock through my Dymo, and then sanding a little.....love it!


Well that's all folks!

I'll be back again tomorrow, believe it or not.....3 days in a row.....could be a record!
Have a good one,
Jayne.x.
-------------------------------------------------------
Challenges entered:
Saturated Canary - #17 May Flowers
Designed To Colour - Rolled Flowers

Monday, May 21, 2012

The Animal In You!

Good morning!
It's Monday and a holiday here in Canada, so I hope you're having a good one.  It also means it's time for another Crafty Challenge over on the Two Scrapbook Friends Forum, and as I'm filling in this week, you will have to put up with me once again!

For today's challenge, I'd like you to turn to your wild side......the animal in you!  I'd like to see a card or scrapbook page that has some sort of animal featured on there somewhere.

I use animals, the cuddly variety, on cards pretty often, but not on layouts, so I thought I'd challenge myself to create a scrapbook page with not one, but a few of our furry/feathered friends.


I can honestly say, I'm pretty sure this is the first time I have ever featured a cow on one of my pages!

Papers are from October Afternoon's 'Farm Fresh' collection from a couple of years ago, as are a few of the stickers I've used.
Details include an accordion flower here.......


........and a little sign cut with my Slice, to hold the title (alpha's are from K & Company)........


As I'm amongst friends, I have to share a little something with you which made me smile........you just know when I say that, that I've messed up on something right?
It wasn't until I'd finished the page (as usual!) that I'm looking things over and realise the 'goats' head appears to be in a rather unfortunate part of the 'cows' anatomy!


I wonder if you'd have noticed if I hadn't pointed that out?  More to the point, why couldn't I have noticed before I'd actually stuck everything down good and proper!
Oh well, what's done is done!

I do hope you'll join in the fun over at Two Scrapbook Friends and upload your creations to the Gallery and Forum, to gather buttons toward your next gift certificate.

Have fun and enjoy the rest of your long weekend,
Jayne.x.

Thursday, May 17, 2012

Colouring with Copic's (Part 1)

As part of being a Design Team member for Two Scrapbook Friends, one of our responsibilities during our term, is to produce a three part special blog feature, tackling something scrapbook or card related.  Now this should obviously be something we might excell in, or have a talent for, or something we feel passionate about.

I am relying on the latter option here.  I certainly don't claim to be any kind of expert in the colouring field.......I have never taken a class, or become certified, not that I wouldn't want to, I just colour because.....well .....I love it!

So straight off the bat, there is my big disclaimer.

Everything I'm going to share with you today is what I've learnt from magazines, or scouring the internet, and most importantly, colouring.  So if nothing else, after reading this feature today, I hope you will at least be encouraged to pick up a marker and colour.

On with the show..........


Copic's!  Does that one word get your heart pumping with excitement at the thought of colouring up your next image?  Or guilt when you think of your rather large collection, gathering dust, just waiting to be used?

If it's the former....great, jump right in!  If it's the latter, I hope as we progress, you'll at least feel a little less intimidated, and a little more inclined to give them a try.  I hate to bust a myth here, but colouring with Copic's doesn't have to be that difficult.  I'm not saying it's easy, and you will certainly need to practice to improve your technique.  I'm still learning two years down the road, but that's the point that leads me nicely to my first tip -

#1 PRACTICE


The most valuable tool for improvement, in colouring with Copic's is to practice.....the more you colour, the better you will become, this I will pretty much guarantee.  Copic markers are certainly not your 'Crayola' variety (not that I have anything against these....my kids love them!).
They have a very fine nib, which is perfect for colouring detailed images, but requires a certain control.  It makes sense therefore, that the more you become comfortable with the feel of them ie. practice, the better you'll be able to control exactly what you want them to do.

Now if you are a beginner in the colouring world, I wouldn't suggest you run out and buy 50 markers, because you feel you need them.  Once you jump into this hobby, there's a distinct possibilty you will become 'hooked' and there will be plenty of opportunity to add (and add, and add) to your collection as you progress.  Here lies my second tip -

#2 THINK ABOUT WHAT YOU ARE GOING TO COLOUR AND PURCHASE FROM THERE.


If you like the look of cutesy girl/boy images, you'll obviously need a good variety of flesh tones, together with a small selection for clothing etc.  If you are interested in colouring landscapes, these will be of no use whatsoever.....common sense right?  When choosing any colour, to begin I would suggest purchasing at least two shades which are grouped relatively close on the Copic chart.  You can download your own free copy of this chart from the Copic web site - there's a link on the sidebar of the Two Scrapbook Friends blog.

As far as choosing images to colour, your options are endless, but generally, they are available in two forms......'stamps', the rubber/acrylic hold it in your hand variety, or 'digital', printed using your computer.

A couple of things to be aware of when choosing between the two.  If you are stamping, I would recommend using Momento ink pads as they are a water based ink that is fast drying, and that's the key.  The last thing you want is for the tip of your marker to pick up any ink residue, which then results in a discoloured nib and one very smeared, ruined image.

If you are printing digitally, then every brand of ink cartridge is different and it becomes more a case of 'trial and error'.  However, as a general rule of thumb, when colouring, I would always avoid touching the lines of your image, with the tip of your marker, as much as possible, in order to avoid disaster.

Before we get to the fun part (colouring!), there's one final thing we need to mention, and that is what you are actually going to colour on, so here comes my next tip -

#3 USE A REALLY GOOD QUALITY CARDSTOCK.


A key factor in achieving good shading whilst colouring, is saturation......the density of colour.  In order to achieve this with Copic's, we need to layer.....lots, and therefore a really good quality cardstock is required to be able to withstand this amount of ink.  By looking at the reverse of a coloured image, you should see the ink has absorbed right through, and this is what we want, as it confirms the density of ink layers on there.  Two Scrapbook Friends carry an awesome, super smooth cardstock, specifically designed for colouring with Copic markers, and you will certainly notice the difference when using this.  Believe me, I have tested many!

OK, I'm sure by now you're tired of reading and would like to get down to the business of colouring.  Before we do, I have one final tip which is again pretty much common sense, but designed to make life easier - 

#4 WHEN COLOURING AN IMAGE, CHOOSE YOUR PAPERS FIRST, THEN COLOUR TO THIS SCHEME.


This really does take all the hard work out of deciding which tones to use.  Let's face it, the colour combinations on patterned papers have already been tried and tested before going to print, so we know they work, and the end result is a card/scrapbook page which co-ordinates beautifully with your coloured image.

Well, I can't end today's feature without actually 'colouring', so I thought for this first session we would look at colouring 'skin'.  The images I'm using in all my examples are rubber stamps from Whipper Snapper Designs, which you can of course find in the store, and are extremely cute!

Before I lay down any ink to paper, I decide on my light source.  This is the direction from which light is appearing, because generally this will determine where most of my shading will appear.  You can see from this photo that I've decided upon the top right corner, and therefore will shade mostly down the left side and lower edges of the image.


When colouring anything, I always start with the lightest shade of the colour I've chosen, and  progress by layering with darker tones. For this image, I've started by covering all skin areas with E0000, my lightest shade.  I then start to layer by using a slighter darker tone (E000), on the areas denoted in the previous picture.  It's quite difficult to pick up these lighter tones with the camera, so I've shown this in pink to make it clear where the shading is.


I then move to my third darkest shade (E00) and following the same pattern, colour approximately half way over my previously layer.


The idea is to draw each layer a little closer to the outer edge of the image.  To make this clear, I've shown where my third layer is in pencil.


Finally, I use my fourth shade (YR00) and pretty much colour around the outer edge.

Generally whilst colouring, you'll be able to blend, and even correct minor errors in shading, as long as you start with the lighter tones and progress - the 'less is more' theory.  I quite often do a final blending of all the layers, by using my lightest shade of marker as my final layer, and covering the whole area.  This generally blends or smoothes out these layers, especially if they appear too severe.  Before I do that here though, I'd like to create a little 'blush'.

I start with RV000 in a circular motion on the cheek area, and carry this out a little toward the ears.  I then very lightly layer a little RV10 in a more centered area, over top.


Now is when I would cover the whole area (if needed) with a layer of E0000 to ensure everythings blended smoothly.

As far as colouring the diaper and bow, I followed the same principal as before.....start by covering the whole area with the lightest shade (RV000), then layer with the darker shades RV10 and RV23, in areas where shadowing would be.  The photographs should clarify their location.


Remember, if you are not entirely happy with the blending of layers, take your lightest shade, and cover the whole area.  You can always re-apply the darker shades as necessary.

Other than a little grey (C0) added on the ground to create shadow, the image is finished and ready for a card.


Well I hope you've managed to stick with me till the very end!

For my next feature, we'll be taking the basic foundations we've covered today, in order to jump right in to everyone's favourite task.......colouring hair!  I do hope you'll join me, but in the mean time practice, practice, practice and most importantly,  have fun!

Till next time,
Jayne.x.

Wednesday, May 16, 2012

That smile!

Good morning!
The week seems to be running away with me again.  I have my in-laws staying with us at present, having travelled from across the pond to visit, which is always enjoyable......I just need a few more hours in the day to accomplish a little crafting.

Anyhow, I did get to sit down last night and colour for an hour, something I haven't done for what seems like aaaaaages.  I even dug out the Prisma pencils, something I haven't done for even longer......oh how I've missed them!  That image hasn't made it's way to a card just yet, so I thought I'd jump on here today with a layout.  I'll be back later in the week with a hopefully gorgeous card creation!

So, today's page was created a couple of weeks ago for Shelby's challenge issued for the online crop at Two Scrapbook Friends.  The challenge was to include some form of distressing on your project, so here's my page called 'That Smile'.................


The photograph is of my eldest daughter a few years ago now, but I've always loved the way the camera caught her smile.....perfect!

Papers are from a while ago too.....My Minds Eye 'Lost & Found' which I tend to hoard as they are far to pretty to use for scrapbooking (lol).
The distressing is fairly obvious with a handmade journalling tag, printed using Word, together with die cuts and a large glass bead from Making Memories.........


There's a sweet little collection of embellishments in the bottom left corner, which layered up very easily, together with a touch more distressing...........


..........and the title is made from a combination of Maya Road chipboard alpha's (covered with some of the PP) and some epoxy stickers, which I believe were one of the first things I purchased when I started scrapbooking..........knew they would come in handy 5 years down the road!


This was one of those pages that came together so easily, no procrastinating at all, just slapped everything on there.  I've said it before and I'll say it again.......gotta love it when that happens!

Well that's all from me today but I'll see you again later in the week.
Have a great day, take care,
Jayne.x.

Friday, May 11, 2012

Let's talk 'Tape'!

Well it's Friday and here I am again!

It's my turn for Friendzy Friday over on the Two Scrapbook Friends blog and forum this week, and to say I was running a little behind with my preparations, is somewhat of an understatement!  However, the true professional that I am would never back down from a good challenge, so here goes.

Today I am here to talk "Tape"!

Washi, Trendy, Tissue, Decorative........whichever way you describe it, or whichever variety you have, it all boils down to one thing.........pretty tapes that we can't get enough of!

If you are anything like me though, as soon as this product arrived on the market a little while ago, I was intrigued, immediately ran out to buy myself a small collection, then got home and thought "Well what am I going to do with this?"

Hence today's post.

I thought I would set myself the task of exploring a few other ways of using these little gems, other than the more obvious 'cut and stick on the page' method, which is still one of my favourites by the way!

I believe all of these tapes are re-positionable, and can be applied to a number of surfaces, which really does make them a pretty versatile embellishment to have in your stash.

So here goes.

If you think of the tape as a ribbon with it's own adhesive backing, you can......

ruffle it...........


or pleat it.......


I even tried it on a 'Gluber'.......a touch fiddly, but it worked quite well........


The beauty of these tapes, is that they are fairly sheer, which means after adhering to cardstock, you're still able to cut them in a variety of ways.

Such as for alpha's to co-ordinate with your scrapbook pages...........


or with most varieties of dies.........


You can even still use it with your border punches..........


Following on from this, it will score or fold nicely too.......


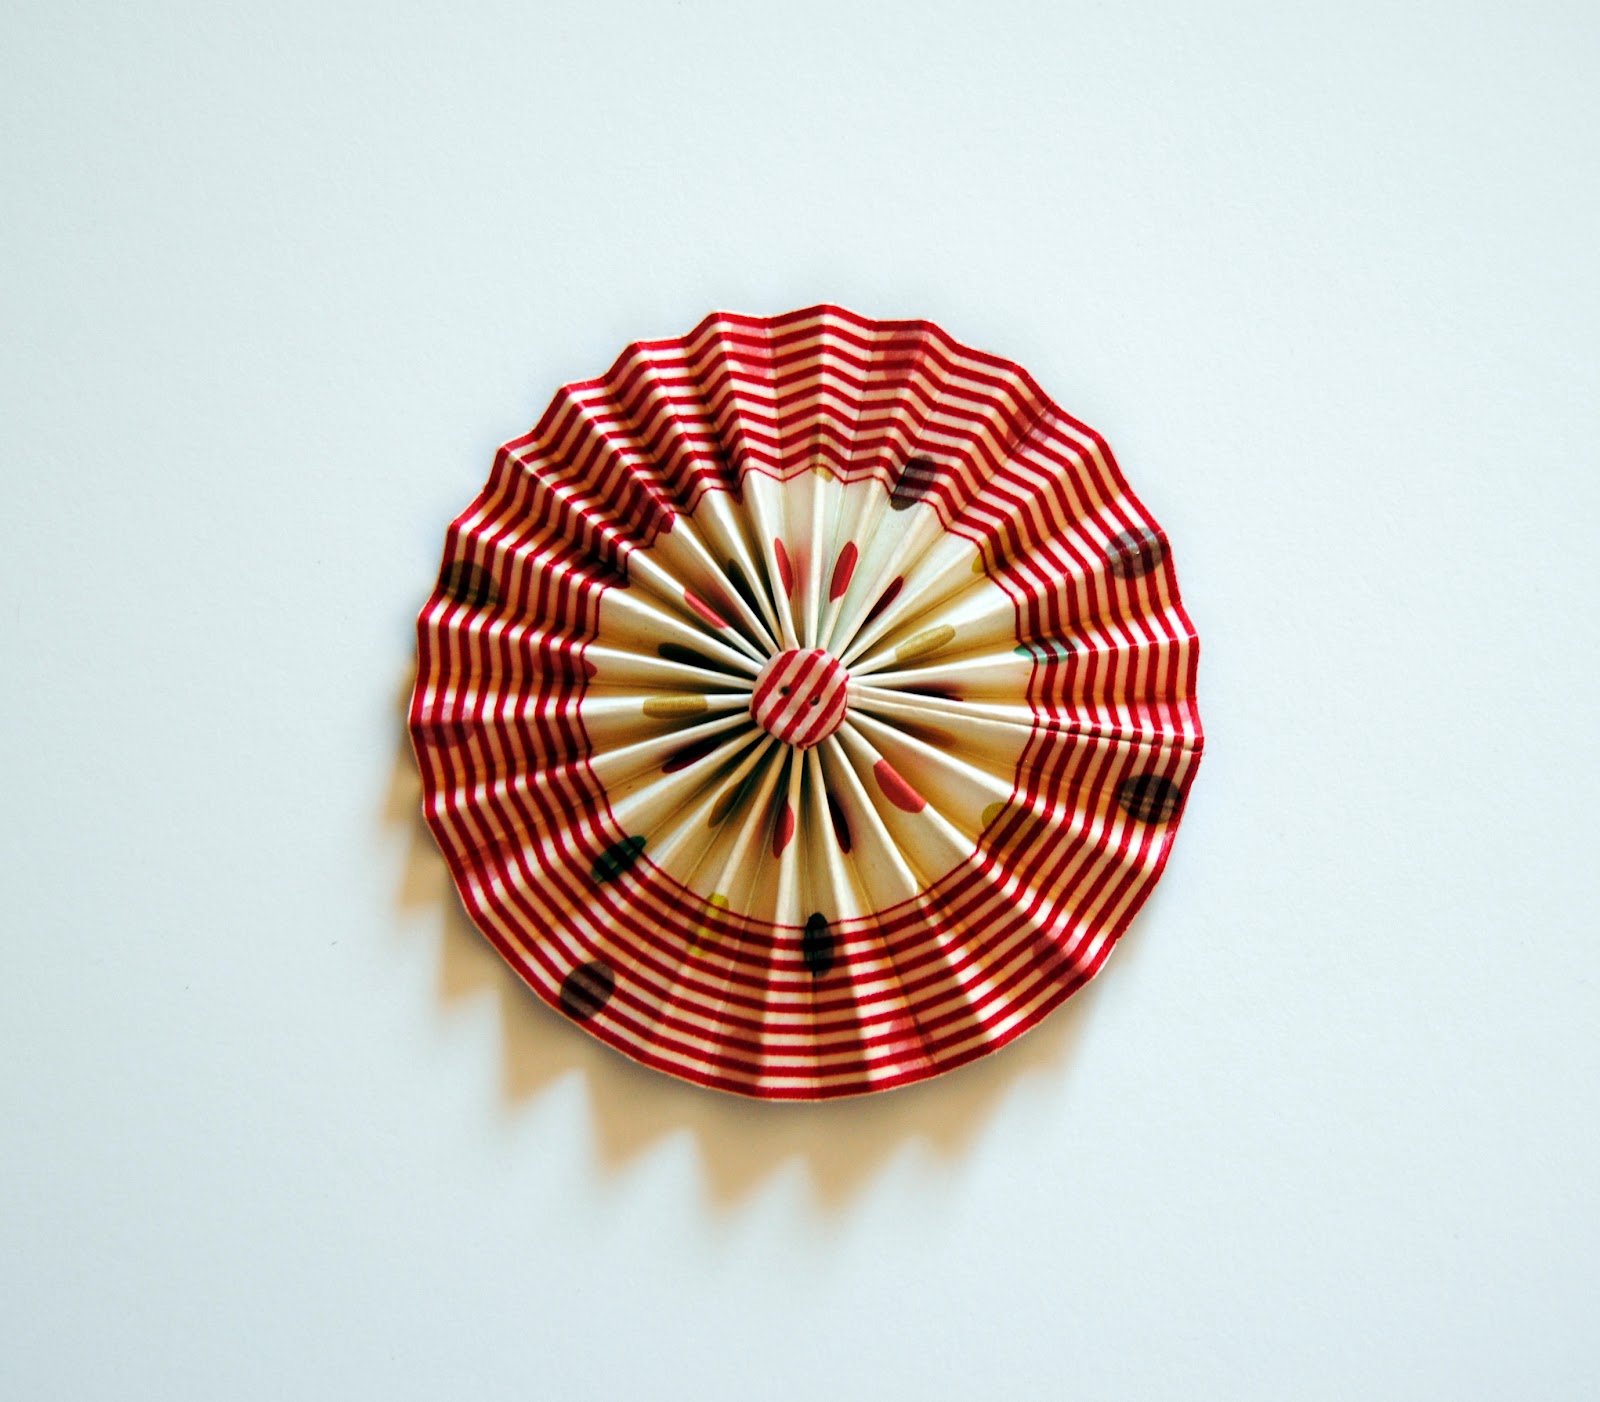
You might have noticed it was even used to cover and co-ordinate the button in the center there too!  Thanks to my scrappin' friend and button coverer extraordinaire Carola for this idea......there you go Girlfriend, you got your mention :)

These tapes are certainly versatile, so with a few snips of the scissors, together with a stick pin or toothpick, we can create mini flags for cards/layouts or cake toppers.........


and if we combine with twine, we have beautifully co-ordinated handmade banners............


Well I hope I've given you a few ideas for the use of your tape collection.  I'm sure there are many more, and I would love for you to share your own ideas by uploading to the gallery or forum.

Most importantly, have fun using it, and I'll see you next time,
Jayne.x.

Thursday, May 10, 2012

Chocolate!....need I say more?

Good morning!

Did you miss me last week?  Very absent I know, then here I am two days in a row!

It's a very fleeting visit today with.......a card!  I was skimming over my blog yesterday and realised I haven't posted a card for ages, so thought I'd better rectify the situation immediately.

This one should be well on it's way across the pond to my Sister-in-law, for her Birthday, which was unfortunately a few days ago, but I always blame the postal service (regardless of when I actually send them!).

I've had this Bugaboo image a long time, but together with the included sentiment, it's still one of my faves.........


Papers are from Echo Park and colouring is with Copic's.


The card layout was inspired by a previous sketch from The Deconstructed Sketch, and here's another look at the little sentiment which could be my 'mantra'!


Have a great day, and I'll see you again tomorrow!
Till then, take care,
Jayne.x.

Wednesday, May 9, 2012

Time for a Sketch!

Well Hello!

It's Wednesday which means it's time for a new sketch over on the Two Scrapbook Friends Forum.  We know how much everyone enjoys a sketch, so no excuses, join in the fun for a chance to earn buttons towards your next gift certificate for the store.

Without further ado, here's today's sketch.


Note to self: Choose shapes a little more carefully, knowing that being no Photoshop expert, you will eventually have to 'freehand' any 'swirly' die cut type of patterns!  Make the most of this one as I can guarantee it won't be making another appearance any time soon.

I have a sample for you, and as my last couple of scrapbook pages have been fairly detailed, this one is clean and simple all the way.


I think these photo's do most of the work for this page, but if I'm honest, I did try to add a little more on there, but nothing seemed to work, so CAS it is!

Have fun with this one.  Feel free to change up that swirly shape for whatever works for you, and don't forget to upload your creations to the Forum and Gallery.

Enjoy your day,
Jayne.x.
Related Posts Plugin for WordPress, Blogger...